
I organized our pantry – CHECK (though in total honesty, it’s in need of a little pick-me-up ASAP!)!
I organized all the kiddos’ arts and crafts supplies – CHECK!
Now onto our bathroom!
I knew this organizing project would be a doozy so I called in support via Candace of House of Paige once again. Between all of my products (I have a LOT of skincare products!) and a small vanity to work with, I needed another organizing pro to bounce some ideas off of! Candace was fantastic to work with (per usual!), and helped me to get out of my own head and really see what was needed and what my options were. Sometimes even us designers/organizers need to outsource for their own homes. 😉
Here is how we approached organizing bathrooms and how you too can implement these steps to set up your space in a way that is stylish and super helpful for long term daily use!
STEP 1
Take everything out! I removed every single item from every single spot in my bathroom so we could see what we were really working with, in terms of space AND in terms of product. I also took measurements during this phase of the project.
STEP 2
Sort through it all! I went through all my products and made piles to donate/give away (beauty products that were fairly full, if not brand new, that I wouldn’t be using), as well as a pile to throw out, any item that was expired or empty.
STEP 3
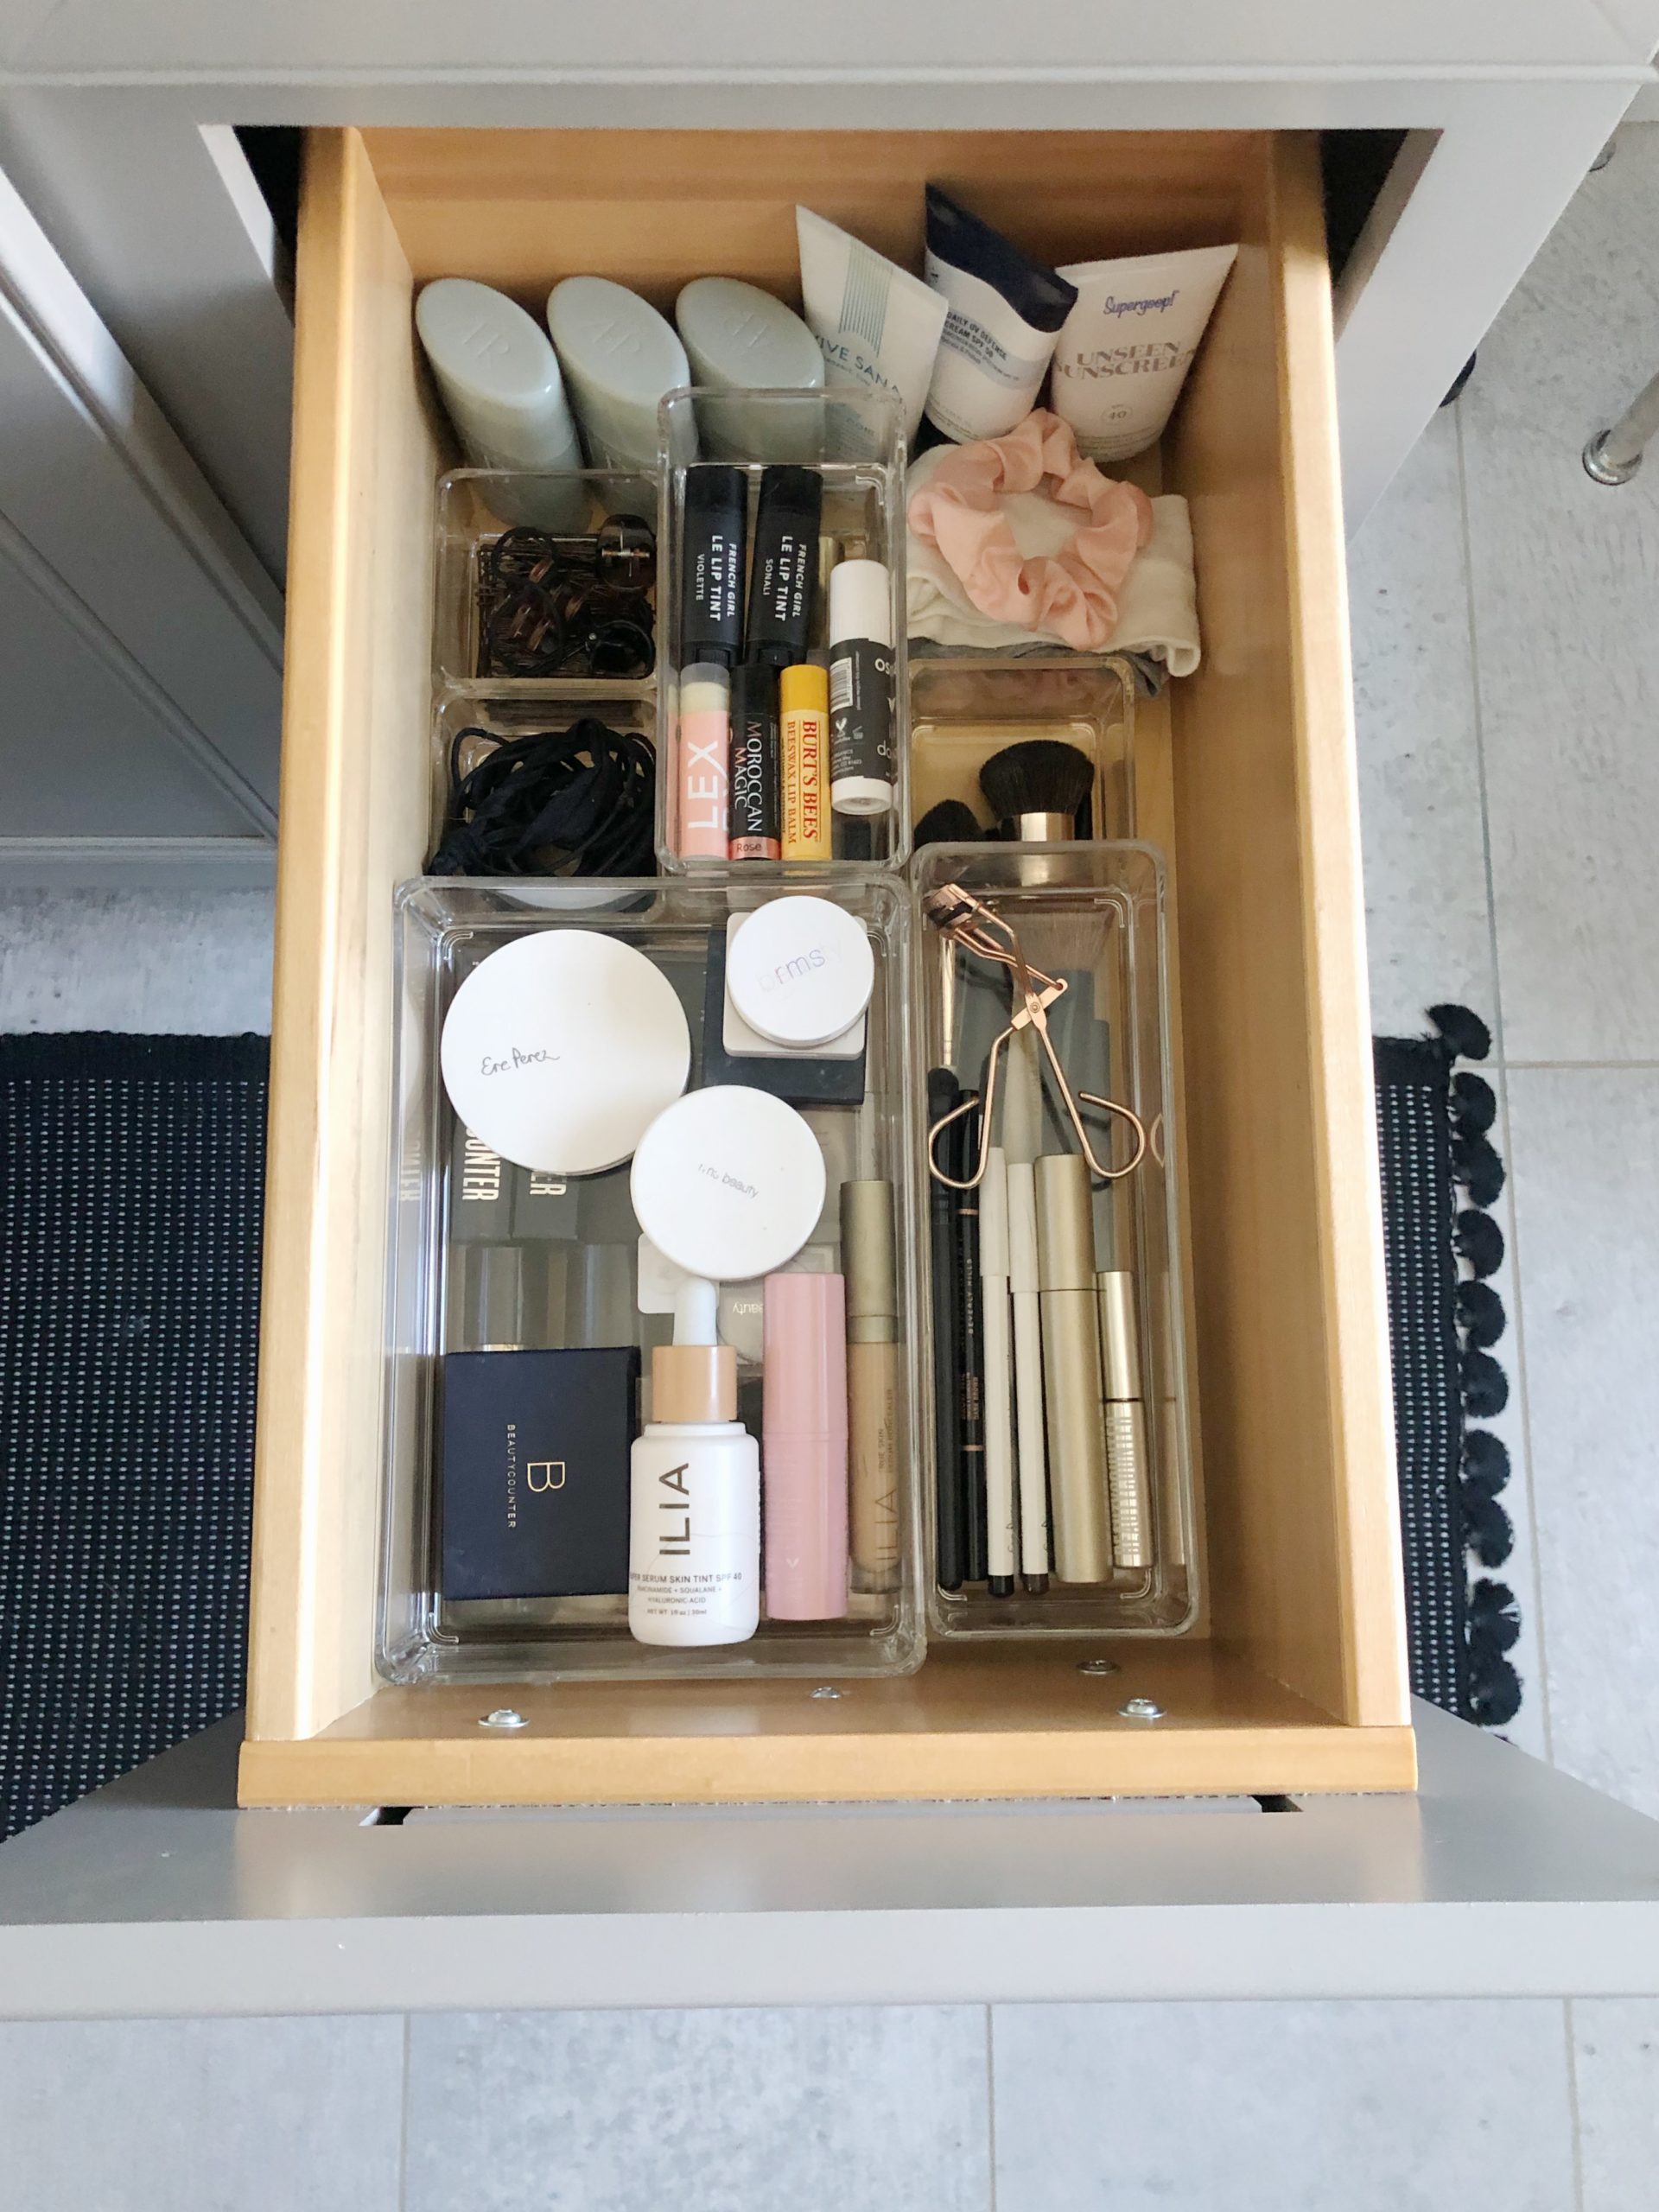
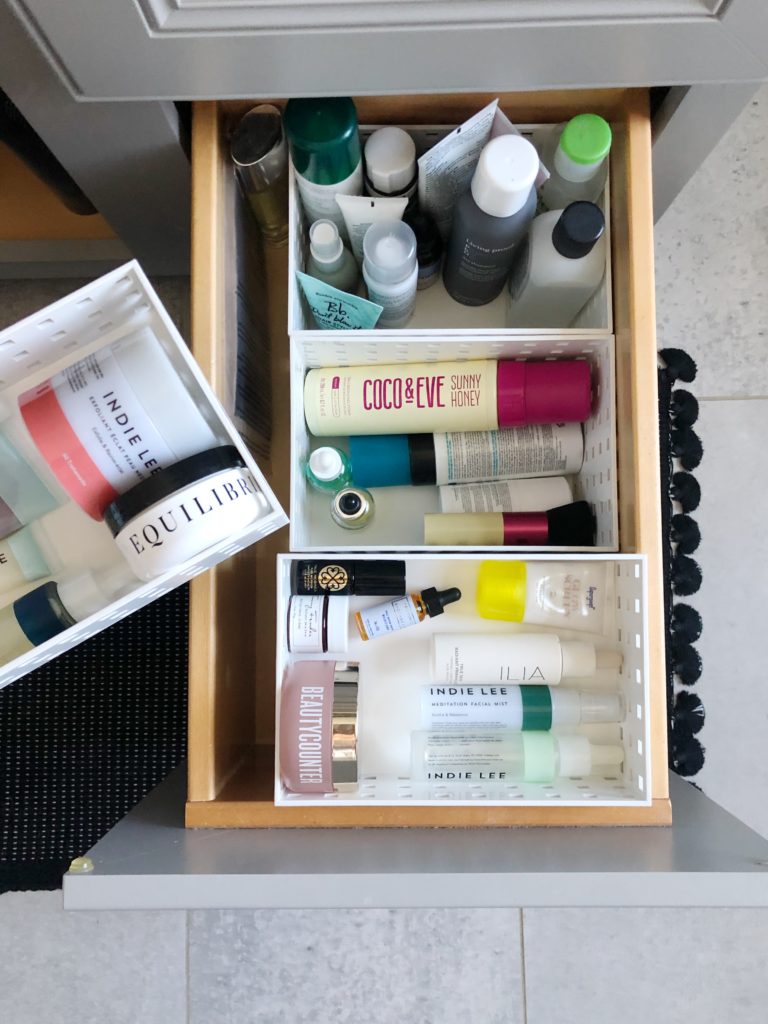
Sort remaining items by usage: skincare, hair care, body, cleaning, etc. Group like items together and make sure the ones you use daily are accessible.
STEP 4
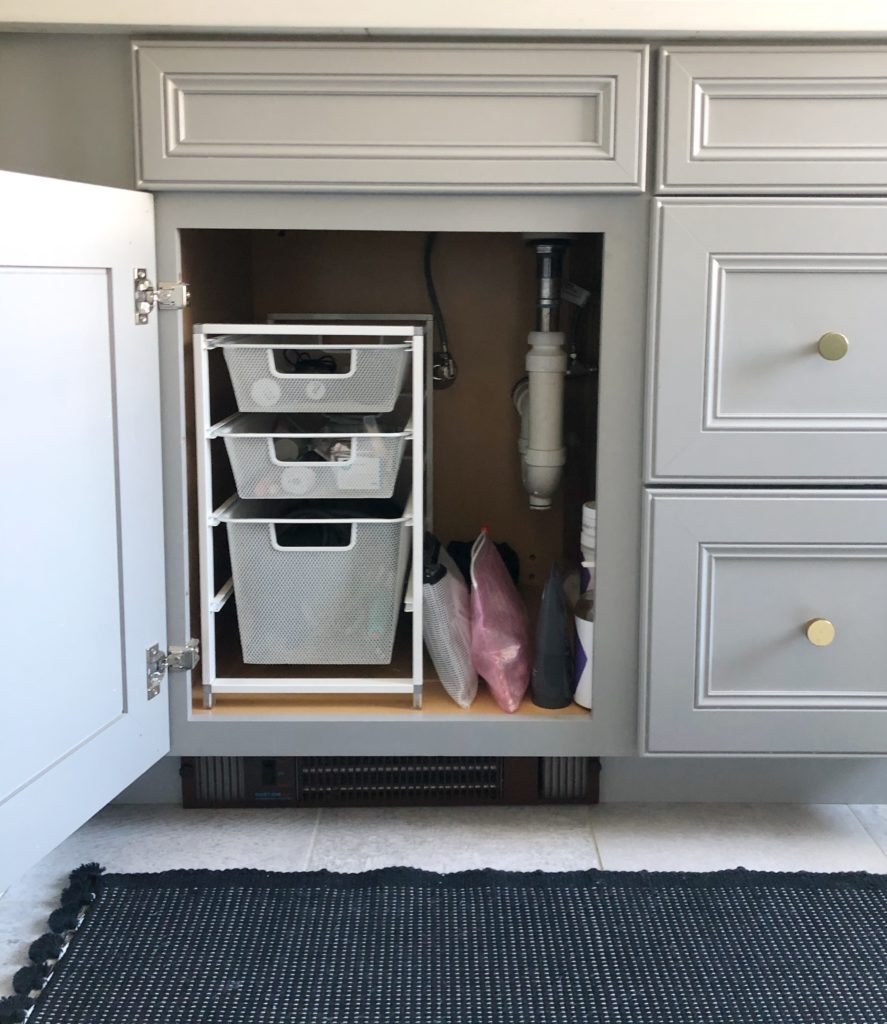
Implement bins and baskets! Luckily my drawers have plenty of storage space but in order to fully use the depth and height they offered, a strategic plan was needed. We solved this issue with a bunch of stacking containers. Perfect!
And to top it all off, I placed all of my must-have daily essentials on a beautiful tray on top of the counter for both visual appeal and easy access!
SHOP MY MUST-HAVE ORGANIZING BATHROOMS ESSENTIALS HERE:
